
Issue:
1. Low current on charge
2. Auto drain battery (newly replaced)
3. High temperature on back case
Solution:
1. Replaced U2IC
Diagnosis Procedure:
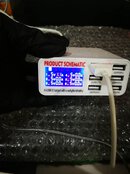
1. Check current on product schematic (reading is 1.1A looks normal but eventually drop to .6, .8 and stays there)
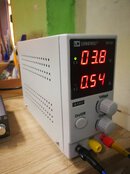
2. Disassemble and use DC bench as power source
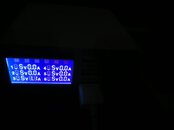
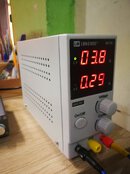
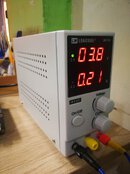
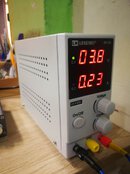
3. Turn on the unit and observe the current reading. On standby after booting, the ampere reading is higher than normal ( Should be around .10 to around 20 plus)
Maintenance Procedure:
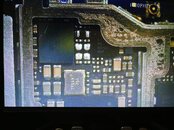
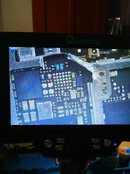
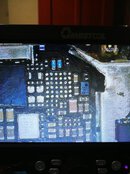
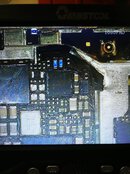
1. Remove the board from the phone and look for the U2IC
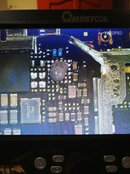
2. Remove the U2IC using hot air (I used Quick 2008, medium nozzle, 345 C, 45 air) settings may vary.
3. Apply flux and medium temperature 183 solder paste to clean the bonding pads using soldering iron (360 C)
4. Flatten the bonding pads using rosin-soaked 2mm desoldering wick (330 C, 30 air)
5. Clean with soft brush and PCB cleaner
6. Apply small amount of flux and position the new/replacement U2IC (consider the polarity of IC using the dot marking)
7. Solder the U2IC (330 C, 30 air)
8. Cool down the board
9. Attach power source, turn on the unit and observe the current reading. If all looks normal, reassemble the unit and test
10. Done.
Salamat sa Dios and more power to Pinoytechnician Community!
1. Low current on charge
2. Auto drain battery (newly replaced)
3. High temperature on back case
Solution:
1. Replaced U2IC
Diagnosis Procedure:
1. Check current on product schematic (reading is 1.1A looks normal but eventually drop to .6, .8 and stays there)
2. Disassemble and use DC bench as power source
3. Turn on the unit and observe the current reading. On standby after booting, the ampere reading is higher than normal ( Should be around .10 to around 20 plus)
Maintenance Procedure:
1. Remove the board from the phone and look for the U2IC
2. Remove the U2IC using hot air (I used Quick 2008, medium nozzle, 345 C, 45 air) settings may vary.
3. Apply flux and medium temperature 183 solder paste to clean the bonding pads using soldering iron (360 C)
4. Flatten the bonding pads using rosin-soaked 2mm desoldering wick (330 C, 30 air)
5. Clean with soft brush and PCB cleaner
6. Apply small amount of flux and position the new/replacement U2IC (consider the polarity of IC using the dot marking)
7. Solder the U2IC (330 C, 30 air)
8. Cool down the board
9. Attach power source, turn on the unit and observe the current reading. If all looks normal, reassemble the unit and test
10. Done.
Salamat sa Dios and more power to Pinoytechnician Community!
Attachments
-
 344236628_2215831955285448_2740358360149144315_n.jpg27.5 KB · Views: 63
 -
 344108209_779527247150031_7188034603389221438_n.jpg111.9 KB · Views: 53
 -
 344114352_1309634719976208_8587183332625826577_n.jpg113.4 KB · Views: 47
 -
 344151525_813092356813385_2223074298594760687_n.jpg111.3 KB · Views: 49
 -
 344190692_1383399309118759_2447301484819641951_n.jpg112.1 KB · Views: 67
 -
 329492525_764292395095369_6195200844103423335_n.jpg166.4 KB · Views: 83
 -
 341051032_227914129882708_3680452792703459341_n.jpg163.7 KB · Views: 87
 -
 340983668_209491801808200_7003688598963910973_n.jpg232.1 KB · Views: 84
 -
 330369724_569928988281181_7018272113610280121_n.jpg203.5 KB · Views: 73
 -
 328854115_803669161147227_8960423786677808819_n.jpg242.6 KB · Views: 68
 -
 327687955_1365052707607637_1697748149395016620_n.jpg150.1 KB · Views: 72
 -
 330296691_772516764474086_4950086663496537430_n.jpg124.9 KB · Views: 68