Sundin lang po ang guide ...Try and tested po iyan.
kelangan connected sa WIFI
Bypass iCloud activation on iPhone through DNS method.
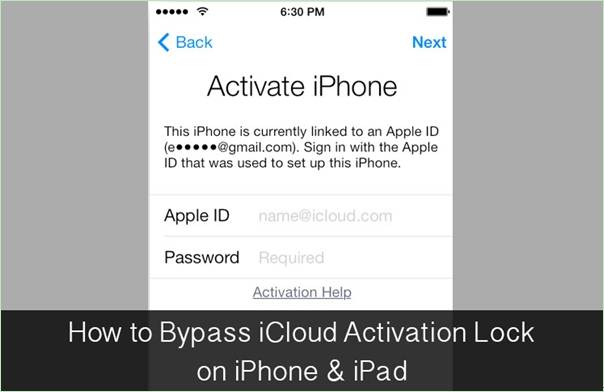
Whilst you hold the iPhone of a complete unknown entity and wish to return the same to its rightful owner and require appropriate details about the owner, this can be achieved in a brief time period by applying the following method.
In the activation window, press the home button and then select Wi-Fi settings and then tap on the 'I' bonded by a circle. Now it's time to remove the existing DNS server and put a custom one in motion.
kelangan connected sa WIFI
Bypass iCloud activation on iPhone through DNS method.
Whilst you hold the iPhone of a complete unknown entity and wish to return the same to its rightful owner and require appropriate details about the owner, this can be achieved in a brief time period by applying the following method.
In the activation window, press the home button and then select Wi-Fi settings and then tap on the 'I' bonded by a circle. Now it's time to remove the existing DNS server and put a custom one in motion.
- You need to enter the new DNS server as 78.109.17.60.
- Tap on "Back."
- Tap on "Done."
- Tap on "Activation help."
- Once you accomplish the above mentioned easy steps, a message would appear saying you have successfully connected to my server.
- Tap on the "Menu" on the top right.
- Scroll through a number of applications available for use such as YouTube, Mail, Maps, Games, Social, User chat, Video, Audio and more.
- Select the appropriate application which you think can provide with the information you require for the owner of the phone.
- Video Guide: How to bypass iCloud activation through DNS